Context Menus
Pattern Grid
Right-clicking anywhere in the pattern grid opens this menu. If the click is inside a block selection, the selection is preserved; otherwise the cursor moves to the clicked position.
| Item | Shortcut | Description |
|---|---|---|
| Play Pattern from Cursor | Shift+F6 |
Play the pattern from the clicked row and loop it; while something is playing, playback jumps there |
| Play Selection in Loop | Ctrl+F6 |
Play the selected rows over and over, starting each pass on the first of them; needs a selection of at least two rows |
| Undo | Ctrl+Z |
Undo last edit |
| Redo | Ctrl+Shift+Z |
Redo last undone edit |
| Cut | Ctrl+X |
Cut selection or current row to clipboard |
| Copy | Ctrl+C |
Copy selection or current row to clipboard |
| Paste | Ctrl+V |
Paste clipboard at cursor, leaving the cursor on what was pasted |
| Paste and Advance | Ctrl+Shift+V |
The same paste, then put the cursor below the pasted content, spaced out by the Step when Auto-cursor advance is set to Advance by Edit Step |
| Paste Special | — | Sub-menu (see below) |
| Stamp Down | Ctrl+Shift+D |
Copy the cell value down to the row Auto-cursor advance moves to and follow it; with a block selection, duplicate the whole block onto the rows directly below |
| Reverse Content | Ctrl+Shift+R |
Turn the selected rows upside down, so the last selected row comes first (selected fields only), or the whole pattern when nothing is selected |
| Transpose | — | Sub-menu (see below) |
| Adjust Volume | — | Sub-menu (see below) |
| Transform... | Ctrl+G |
Stretch or compress the rows of the selection, the track, the pattern or the whole song (see Transform) |
| Draw Curve... | Ctrl+K |
Shape an effect over the selected rows, or the track under the cursor, by drawing a curve (see Drawing an Effect Curve) |
| Create Arpeggio from Notes | — | Add an arpeggio table that plays the selected notes in order, counted from the first of them (see Making an Arpeggio from Pattern Notes) |
| Edit Instrument | — | Show the row's instrument in the instrument editor. Offered when you right-click a note or an instrument number; double-clicking the instrument number does the same |
| Replace Instrument... | Ctrl+H |
Replace one instrument with another within the block selection, or just the cell under the cursor when nothing is selected |
| Clear | — | Sub-menu (see below) |
| Insert | — | Sub-menu (see below) |
| Delete | — | Sub-menu (see below) |
| Select | — | Sub-menu (see below) |
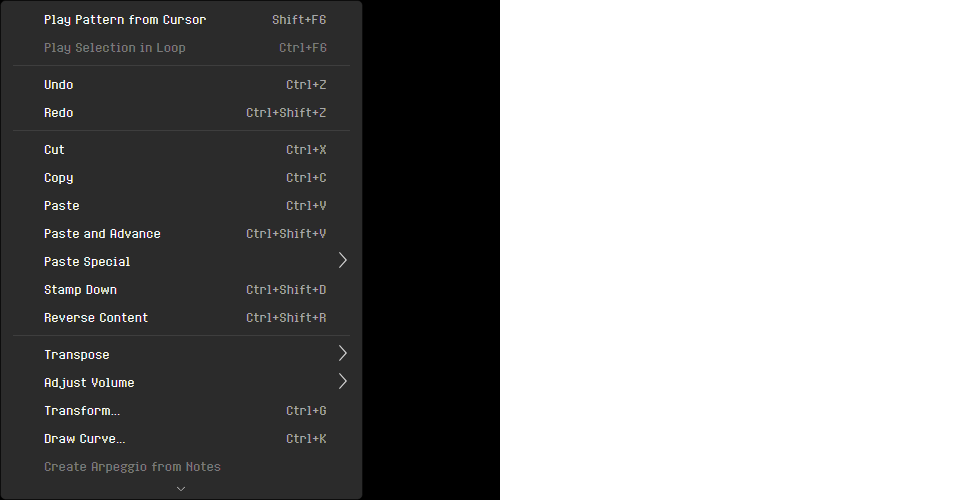
Every item except the pastes works with Edit Mode off. Paste, Paste and Advance and the Paste Special items need Edit Mode, since they overwrite rows. The Backspace, Delete and Insert keys shown beside Clear, Insert and Delete also need Edit Mode; the menu items do not.
Cut and Copy act on the block selection, or on the whole row under the cursor, so they are unavailable on an empty cell in a blank row.
Stamp Down copies the cell under the cursor to the row Auto-cursor advance moves to (one row down, the edit step down, or the next filled cell), so it is unavailable on an empty cell or when there is no such row below. With a block selection, it copies the whole block onto the rows below and moves the selection with it, so repeated stamps tile the block; it is unavailable when the copy would not fit.
Reverse Content reverses the order of the rows in the block selection, or of the whole pattern when nothing is selected, so a rising run of notes falls. It is unavailable for a selection only one row tall. Choose it again to put the rows back.
Edit Instrument leaves the cursor and keyboard in the grid. It is unavailable on a row with no instrument.
Replace Instrument is unavailable on an empty cell. The dialog starts with the first instrument in the selection, or under the cursor, as the one to replace, and with the replacement you chose last this session.
Create Arpeggio from Notes makes an arpeggio table from the notes in the block selection and opens it in the arpeggio editor. It does not change the pattern. The command is unavailable without a selection or when the selection contains no pitched notes.
Draw Curve opens the curve editor on an effect in the selected rows, or in the track under the cursor. It draws one effect column at a time, so an effect found in several selected columns is not offered, and it is unavailable when no drawable effect, such as a volume, slide, speed or transposition, is left.
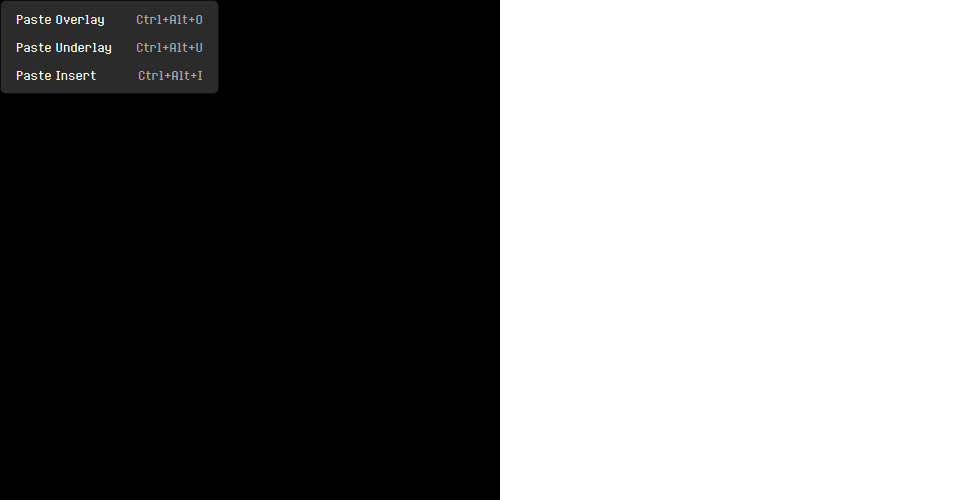
Paste Special Sub-menu
| Item | Shortcut | Description |
|---|---|---|
| Paste Overlay | Ctrl+Alt+O |
Paste only non-empty clipboard fields |
| Paste Underlay | Ctrl+Alt+U |
Paste only into empty destination fields |
| Paste Insert | Ctrl+Alt+I |
Insert blank rows and paste clipboard |
Transpose Sub-menu
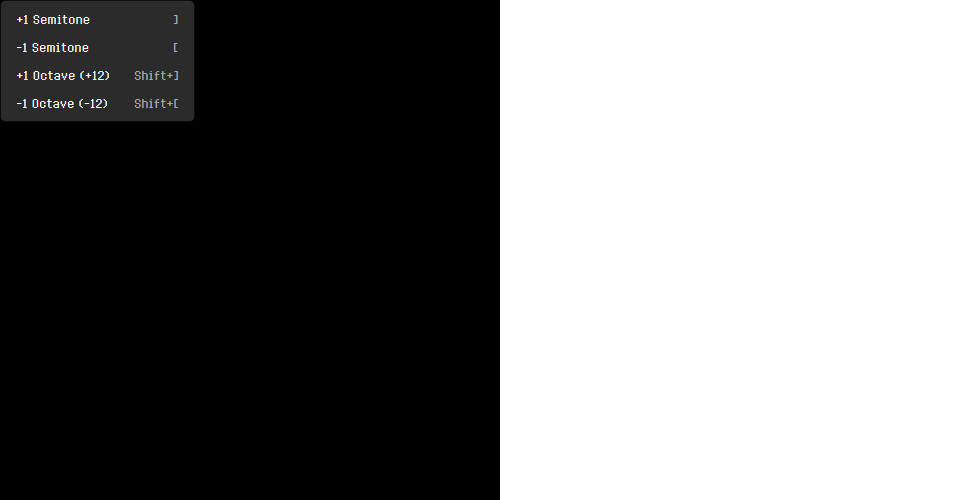
When a block selection is active, these transpose every note in the selection. Otherwise they transpose the note at the clicked cell. They are disabled when the clicked cell is not a note cell, or when it is an empty note cell.
| Item | Shortcut | Description |
|---|---|---|
| +1 Semitone | ] |
Transpose up by one semitone |
| -1 Semitone | [ |
Transpose down by one semitone |
| +1 Octave (+12) | Shift+] |
Transpose up by one octave |
| -1 Octave (-12) | Shift+[ |
Transpose down by one octave |
Adjust Volume Sub-menu
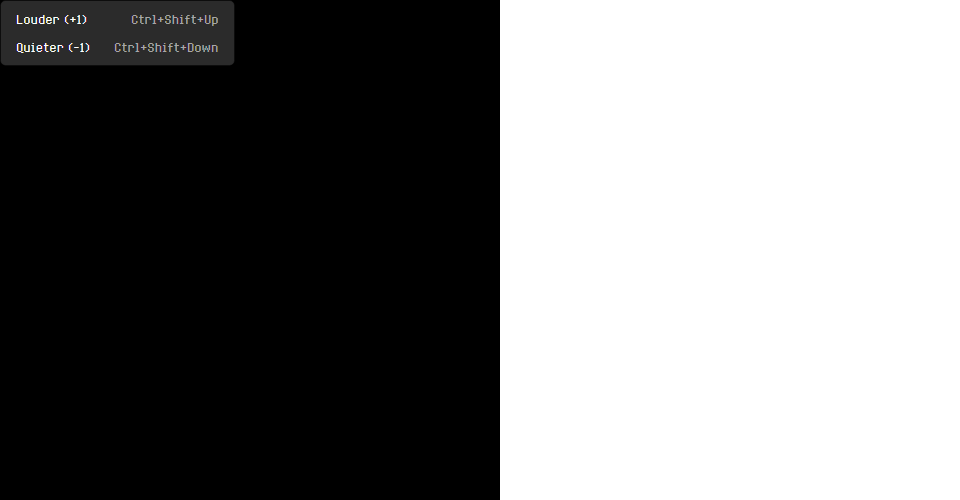
These shift every Volume (V) effect inside the block selection up or down by one step, so you can make a whole section louder or quieter at once. Notes, instruments, and other effects are left alone, and each volume value stays within its 0–15 range. Without a selection they act on the Volume effects on the cursor's row in the cursor's track. The items are available only when there is at least one Volume effect to change.
| Item | Shortcut | Description |
|---|---|---|
| Louder (+1) | Ctrl+Shift+Up |
Raise each Volume effect in the selection, or on the cursor's row, by one |
| Quieter (-1) | Ctrl+Shift+Down |
Lower each Volume effect in the selection, or on the cursor's row, by one |
Clear Sub-menu
| Item | Shortcut | Description |
|---|---|---|
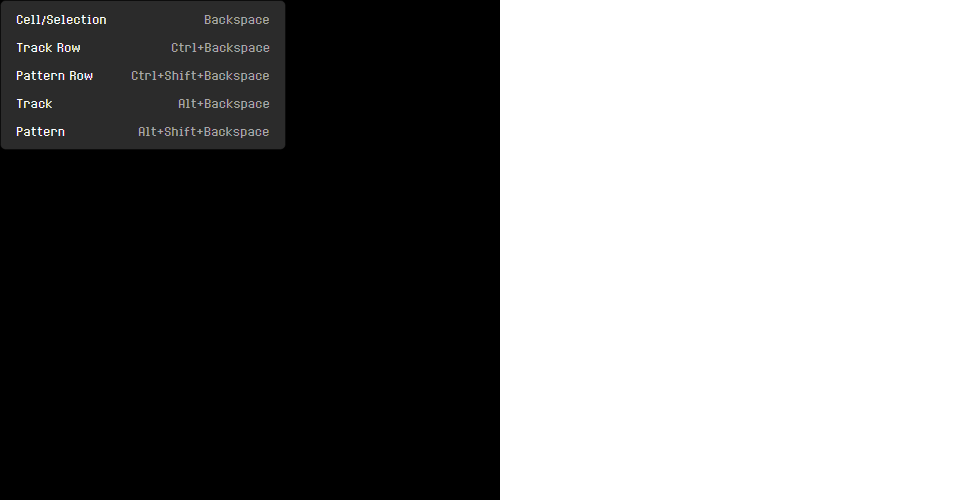
| Cell/Selection | Backspace |
Clear the block selection, or the cell under the cursor when nothing is selected, then follow Auto-cursor advance |
| Track Row | Ctrl+Backspace |
Clear current row in the current channel, then follow Auto-cursor advance |
| Pattern Row | Ctrl+Shift+Backspace |
Clear current row across all channels, then follow Auto-cursor advance |
| Track | Alt+Backspace |
Clear entire current channel track |
| Pattern | Alt+Shift+Backspace |
Clear entire current pattern |
Insert Sub-menu
| Item | Shortcut | Description |
|---|---|---|
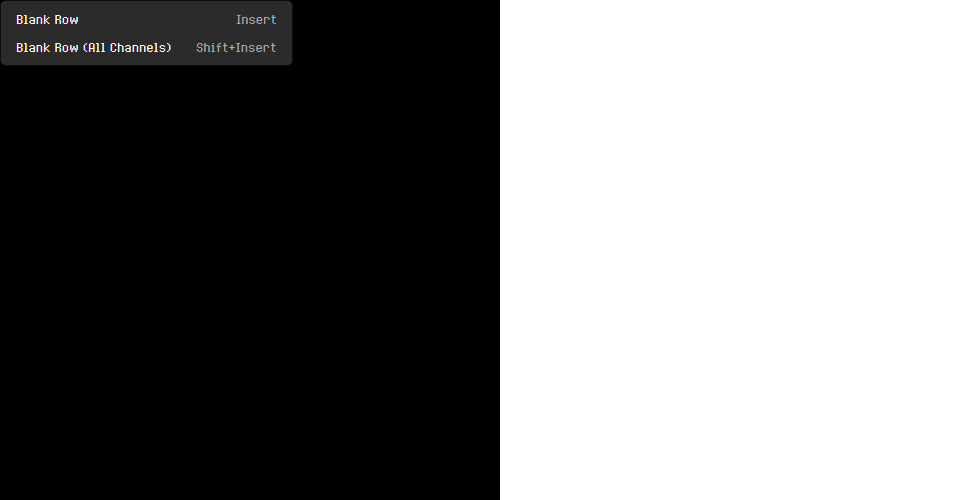
| Blank Row | Ins |
Insert a blank row in the current channel (the pushed-off last row is set aside, not lost) |
| Blank Row (All Channels) | Shift+Ins |
Insert a blank row across all channels (each track's pushed-off last row is set aside, not lost) |
Delete Sub-menu
| Item | Shortcut | Description |
|---|---|---|
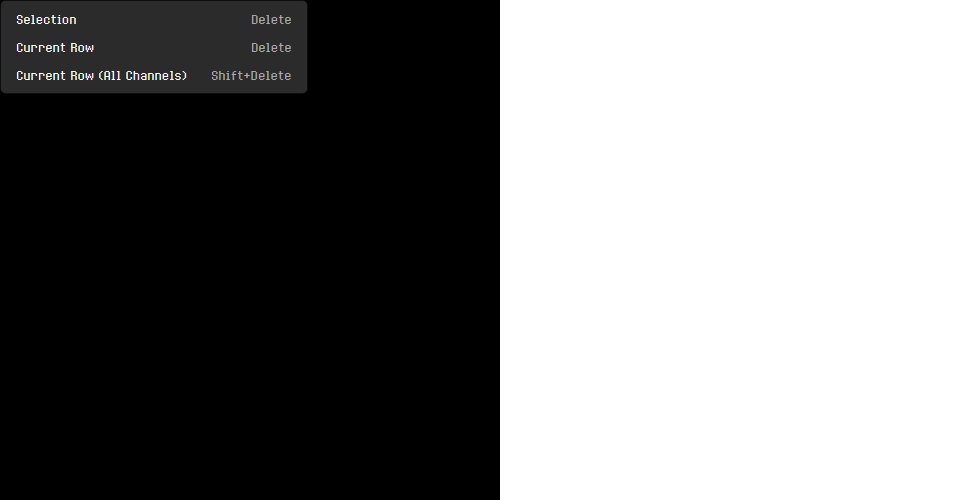
| Selection | Del |
Remove selected rows and shift content up |
| Current Row | Del |
Delete the current row in the current channel and shift the rest up; a row a prior insert pushed off the end reappears at the bottom |
| Current Row (All Channels) | Shift+Del |
Delete the current row across all channels; each track's pushed-off row reappears at the bottom |
Select Sub-menu
| Item | Shortcut | Description |
|---|---|---|
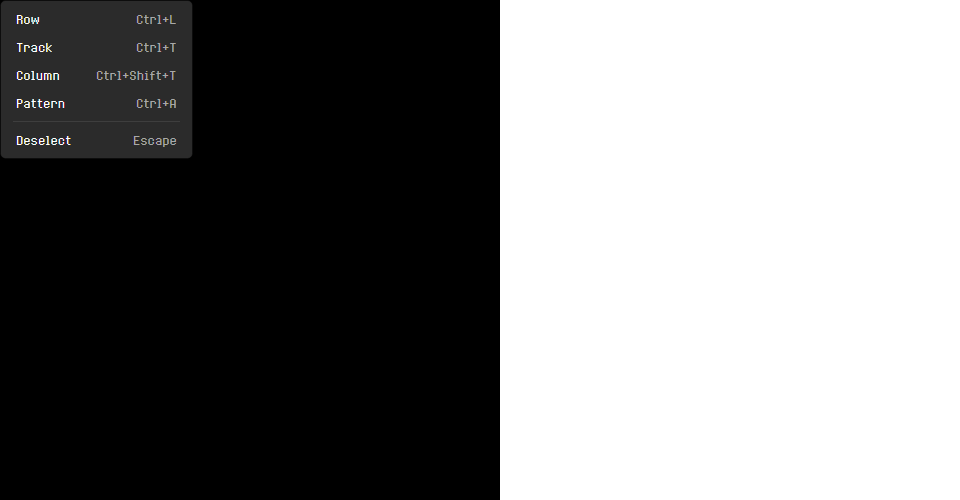
| Row | Ctrl+L |
Select current row across all channels |
| Track | Ctrl+T |
Select entire current channel track |
| Column | Ctrl+Shift+T |
Select every row of the column the cursor is on |
| Pattern | Ctrl+A |
Select entire pattern |
| Deselect | Esc |
Dismiss block selection; with none, cancel a cut that is waiting to be pasted |
Pattern Toolbar View Options
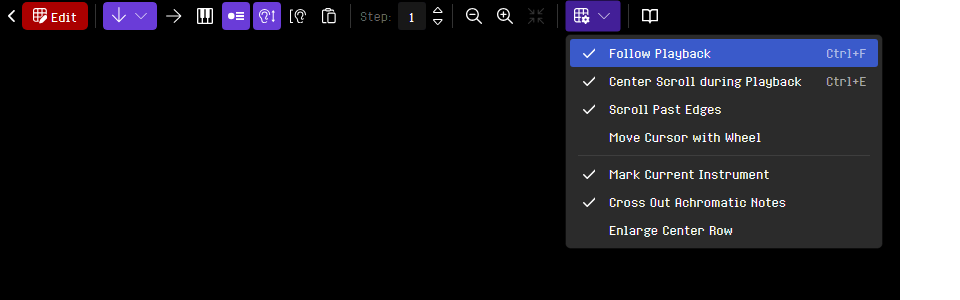
Clicking the View Options dropdown on the pattern toolbar opens a menu with these toggles:
| Item | Shortcut | Description |
|---|---|---|
| Follow Playback | Ctrl+F |
Auto-scroll to the playing row during playback |
| Center Scroll during Playback | Ctrl+E |
Keep the tracked row vertically centered while the song plays |
| Scroll Past Edges | — | Allow scrolling past the first/last row |
| Move Cursor with Wheel | — | When on, the mouse wheel moves the cursor along the pattern grid instead of only scrolling the view (off by default). The other grids are unaffected |
| Mark Current Instrument | — | When on (the default), rows playing the instrument you are editing are marked so you can spot them at a glance |
| Cross Out Achromatic Notes | — | When on (the default), a note played by an achromatic instrument is drawn as a cross rather than by name, since that instrument sounds at its own pitch and the note only places it |
| Enlarge Center Row | — | With Center Scroll during Playback on, the row being followed (the playing row, or the cursor row while stopped or paused) is drawn twice as tall as the others, as classic trackers show it (off by default) |
Oscilloscopes
Right-clicking the oscilloscopes above the pattern editor, or above an open playlist, opens this menu:
| Item | Shortcut | Description |
|---|---|---|
| Mute Channel A / B / C | Alt+Z / Alt+X / Alt+C |
Mute or unmute that channel; each muted channel is checked |
| Solo Channel A / B / C | Alt+Shift+Z / Alt+Shift+X / Alt+Shift+C |
Hear that channel on its own, or take its solo off; the soloed channel is checked |
| Mute All Channels | — | Silence all three channels, as Alt+0 does. While any channel is silent, muted or left out by a solo, it reads Unmute All Channels and brings all three back instead |
| Mix Display | — | Choose what the mixed oscilloscope shows: Waveform, or Spectrum, a bar per frequency band with a falling peak marker above each |
| Hide Oscilloscopes | — | Put these oscilloscopes away, as clearing Show Oscilloscopes in the View menu of the same view does |
Song Editor
Right-clicking a slot or an unused pattern opens this menu. Right-clicking a slot inside your selection keeps the selection, so Remove from Song, Duplicate Slots, Duplicate Patterns, Delete Patterns and Set Pattern Color act on every selected slot; right-clicking outside it selects just that slot. Play from Here, Play Pattern and the loop start and end items act only on the slot you clicked.
| Item | Description |
|---|---|
| Undo | Undo the last edit (Ctrl+Z) |
| Redo | Redo the last undone edit (Ctrl+Shift+Z) |
| Add New Pattern | Create a new pattern and insert a slot for it after the cursor, or at the end of the song when you right-click an unused pattern (Ctrl+Shift+N) |
| Add to Song | Insert this unused pattern into the arrangement, after the cursor (only available for unused patterns); with several unused patterns selected (shown as Add Patterns to Song), insert them all |
| Duplicate Slot | Insert a copy of this slot after the cursor (Ctrl+D); with several slots selected (shown as Duplicate Slots), insert a copy of every selected slot after the selection |
| Duplicate Pattern | Duplicate current pattern (Ctrl+Shift+D); with several slots selected (shown as Duplicate Patterns), duplicate each selected slot's pattern into new slots after the selection |
| Remove from Song | Remove the selected slots, or the single cursor slot, from the arrangement (Del); the pattern itself stays in the song, and removing every slot leaves one playing an empty pattern. On unused patterns the item reads Delete Pattern (Delete Patterns when several are selected) and deletes them outright |
| Delete Pattern | Delete the pattern this slot plays, and every slot that plays it (Shift+Del; Delete Patterns when the selection plays several). Other patterns keep their numbers, and the next new pattern takes the freed one. Deleting every slot leaves one, playing an empty pattern |
| Cut | Cut the selected slots (Ctrl+X) |
| Copy | Copy the selected slots (Ctrl+C) |
| Paste | Paste the copied slots after the cursor (Ctrl+V) |
| Select All | Select every slot in the arrangement (Ctrl+A) |
| Set Pattern Color | Submenu: Randomize Color (a random preset color; with several patterns selected, the same one for all or a different one each, as you choose), Custom Color... (any color, chosen in the Custom Color dialog), Clear Color, then the numbered preset colors, which match the instrument color picker's. With several slots or unused patterns selected, all their patterns change |
| Replace Instrument... | Replace one instrument with another in the patterns of the selected song slots (Ctrl+H); both drop-downs start on the instruments you last replaced |
| Transform... | Stretch or compress the rows of the patterns of the selected song slots (Ctrl+G); see Transform. |
| Play from Here | Start song playback from the beginning of this slot |
| Play Pattern | Start pattern playback of this slot |
| Set Loop Start | Set the arrangement loop point here; reads Clear Loop Start when it is already here |
| Set Temp Loop Start | Set temporary loop start here |
| Set Temp Loop End | Set temporary loop end here |
| Clear Temp Loop Range | Clear the temporary loop |
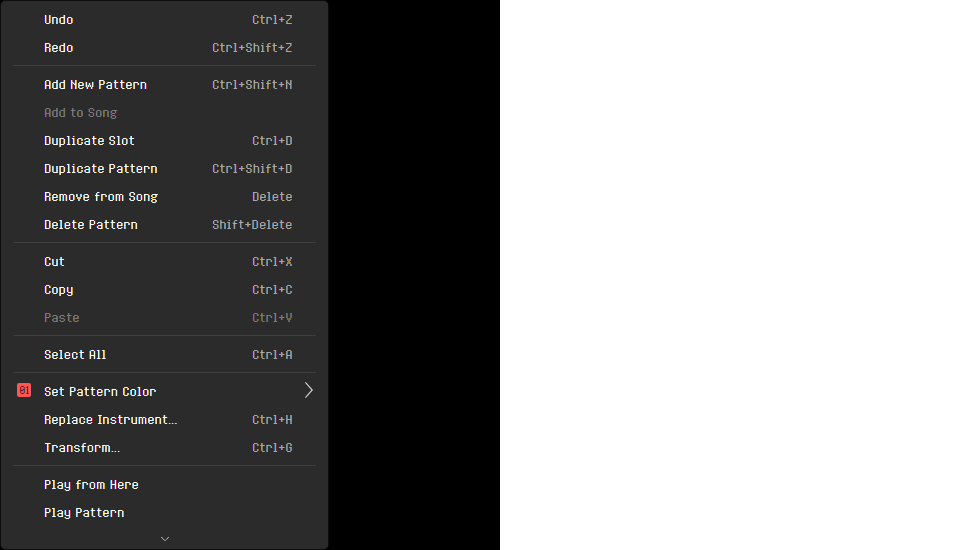
Replace Instrument here covers whole patterns and does not need Edit Mode. The dialog opens on the pair you last replaced, so you can work through an arrangement a few slots at a time.
Transform here opens the Transform dialog on Selected song slots, so it changes every pattern the selected slots play, each only once. It does not need Edit Mode either.
Past the Last Slot
Right-clicking the empty area past the last slot, or the Add button there, opens a smaller menu for the end of the song. Opening it does not change your selection.
| Item | Shortcut | Description |
|---|---|---|
| Add New Pattern | Ctrl+Shift+N |
Create a new pattern and add a slot for it after the last slot |
| Paste | Ctrl+V |
Paste the copied slots after the last slot |
Event Strip
Right-clicking the song editor's event strip opens a menu of check items for its parts. At first only Channels is checked, and the last checked item cannot be cleared. Timer Count and Sample Count are offered only while the song's Timers and Samples features are on (see Features). Hide closes the strip. There is no menu in Novice mode.
| Item | Description |
|---|---|
| Channels | Show or hide the three channel rows |
| Timer Count | Show or hide the graph of timers running at once |
| Sample Count | Show or hide the graph of samples playing at once |
| Estimated CPU Load | Show or hide the graph of the estimated CPU load |
Feature Tabs
Right-clicking the Arpeggios, Vibratos, Samples or Wavetables tab, or the instrument editor's Sample or Effects tab, opens a menu with one check item, such as Enable Samples in This Song, that switches the tab's feature on or off for the song, just like its box under Features in the Song properties. The item is checked while the feature is on. It works on a dimmed tab too, so you can switch a feature back on where you miss it. The item is unavailable while the song uses the feature, since a feature in use cannot be switched off. The change can be undone. There is no menu in Novice mode, which hides these tabs.
| Item | Tabs |
|---|---|
| Enable Arpeggio Tables in This Song | Arpeggios |
| Enable Vibrato Tables in This Song | Vibratos |
| Enable Samples in This Song | Samples, and the instrument editor's Sample tab |
| Enable Wavetables in This Song | Wavetables |
| Enable Effect Matrices in This Song | The instrument editor's Effects tab |
Instrument List
Right-clicking an instrument in the list:
| Item | Shortcut | Description |
|---|---|---|
| Replace with File... | Ctrl+Shift+L |
Load .rhi file into this slot |
| Replace from Another Song... | Ctrl+Shift+B |
Pick an instrument in the instrument browser and load it into this slot |
| Replace from Standard Library... | Ctrl+Alt+Shift+K |
Pick an instrument from the standard library in the instrument browser and load it into this slot |
| Save As... | Ctrl+Shift+J |
Save this instrument to .rhi file |
| Duplicate | Ctrl+D |
Clone instrument to end of list |
| Delete | Delete |
Remove this instrument (you are asked what to do with any notes playing it) |
| Replace Instrument... | Ctrl+H |
Replace this instrument with another everywhere the song uses it |
| Set Instrument Color | Submenu to color-code this instrument: Randomize Color (pick a color at random from the swatches below for the selected instrument(s); with several selected, each gets a different one), Custom Color... (any color, chosen in the Custom Color dialog), Clear Color, then the preset color swatches |
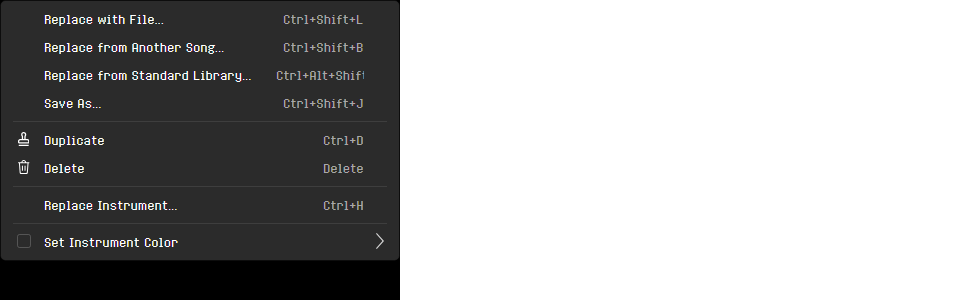
Replace Instrument changes every row of every pattern that uses this instrument, in one undoable step. The dialog opens with the instrument you right-clicked as the one to replace. It is unavailable when the song has only one instrument. Like the song editor's and the pattern editor's Replace Instrument, it does not need Edit Mode.
An instrument's .rhi file also contains the wavetables and the sample the instrument plays; see
the note under the instrument editor's List Toolbar.
Sample List
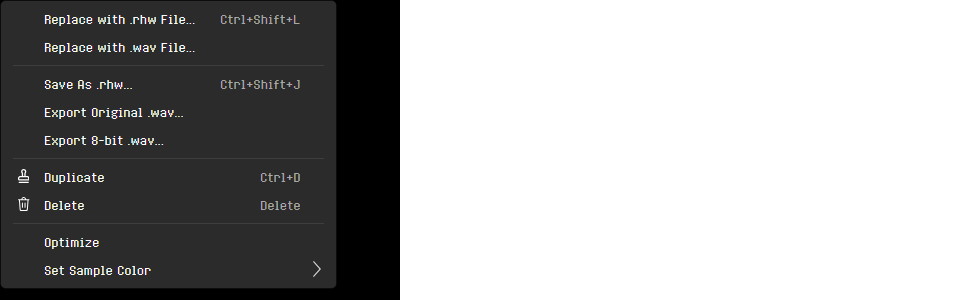
Right-clicking a sample in the sample list opens this menu:
| Item | Description |
|---|---|
| Replace with .rhw File... | Load the audio of a RhYMe sample (.rhw) file into this slot, keeping this slot's name and settings (Ctrl+Shift+L) |
| Replace with .wav File... | Import a .wav file into this slot, replacing the sample's audio and keeping its own settings, such as its resample rate |
| Save As .rhw... | Save this sample to a .rhw file with all its settings - gain, resample rate, start and end markers and the rest (Ctrl+Shift+J) |
| Export Original .wav... | Write the sample's original imported file unchanged (available only when it still has one) |
| Export 8-bit .wav... | Write the processed, downsampled 8-bit audio the engine plays as a .wav file |
| Duplicate | Add a copy of this sample at the end of the list (Ctrl+D) |
| Delete | Remove this sample from the song (Del) |
| Optimize | Set up every selected sample to sound its best on the YM2149, as the sample editor's Optimize button does for one. One undo restores them all |
| Set Sample Color | Submenu to color-code this sample: Randomize Color, Custom Color... (any color, chosen in the Custom Color dialog), Clear Color, then the preset color swatches. With several samples selected, all of them change |
Instrument Step Grid
Right-clicking in the step grid — or in the step graphs below it, which share the same selection — opens this menu:
| Item | Shortcut | Description |
|---|---|---|
| Undo | Ctrl+Z |
Undo last edit |
| Redo | Ctrl+Shift+Z |
Redo last undone edit |
| Cut | Ctrl+X |
Cut selection to clipboard |
| Copy | Ctrl+C |
Copy selection to clipboard |
| Paste | Ctrl+V |
Paste clipboard |
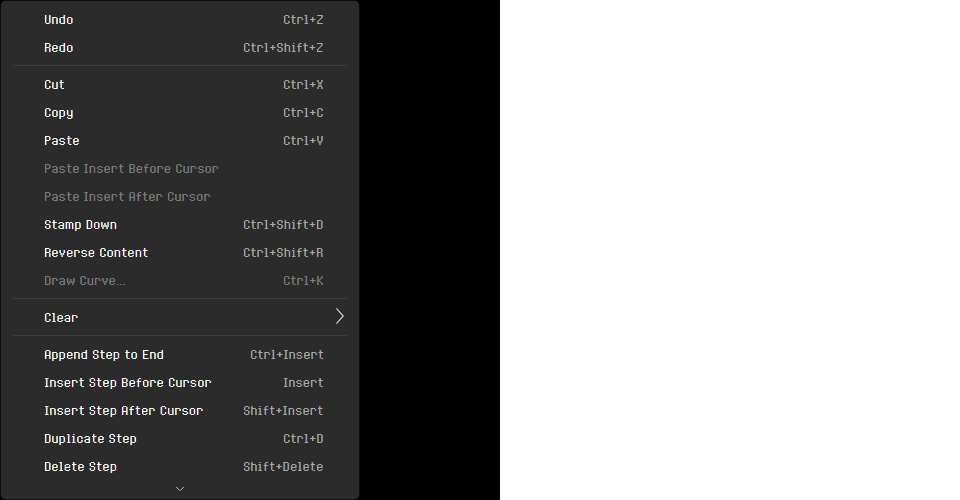
| Paste Insert Before Cursor | — | Open a gap above the current step and paste into it |
| Paste Insert After Cursor | — | Open a gap below the current step and paste into it |
| Stamp Down | Ctrl+Shift+D |
Copy cell to step below; with a block selection, duplicate the whole block onto the steps directly below |
| Reverse Content | Ctrl+Shift+R |
Turn the selected steps upside down, so the last selected step's values come first (selected columns only), or the whole table when nothing is selected |
| Draw Curve... | Ctrl+K |
Open the curve editor on the step parameter under the cursor |
| Clear | — | Sub-menu: Selection, Current Field, Current Step |
| Append Step to End | Ctrl+Ins |
Append a blank step at the end of the list and move the cursor onto it |
| Insert Step Before Cursor | Ins |
Open a gap above the current step |
| Insert Step After Cursor | Shift+Ins |
Open a gap below the current step |
| Duplicate Step | Ctrl+D |
Clone the current step |
| Delete Step | Shift+Del |
Remove the current step |
| Delete Selection | Del |
Remove the selected step rows |
| Select All | Ctrl+A |
Select entire instrument |
| Deselect | Esc |
Dismiss block selection; with none, cancel a cut that is waiting to be pasted |
| Set Loop Start | Ctrl+L |
Set the loop start at the cursor; reads Clear Loop Start when it is already there |
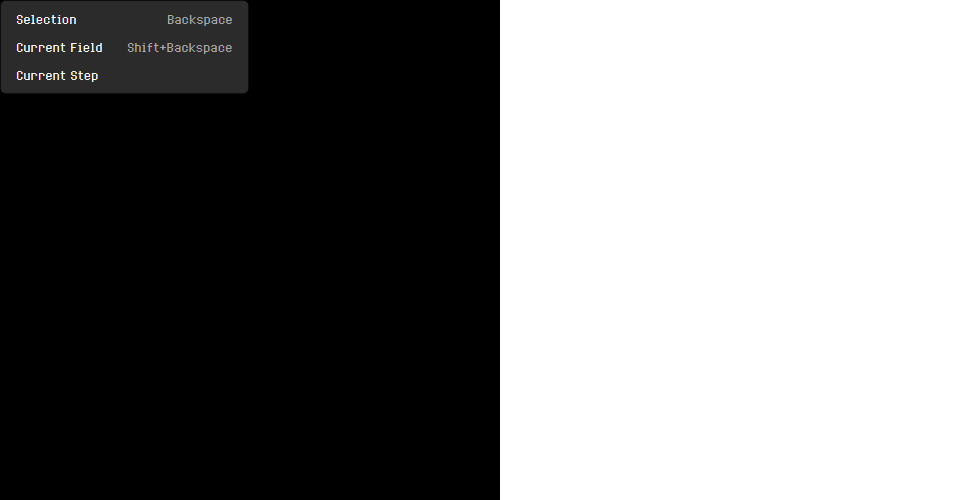
Clear Sub-menu
| Item | Shortcut | Description |
|---|---|---|
| Selection | Backspace |
Clear data in block selection |
| Current Field | Shift+Backspace |
Reset the field under the cursor |
| Current Step | — | Reset all fields on current step |
Arpeggio and Vibrato Value Grid
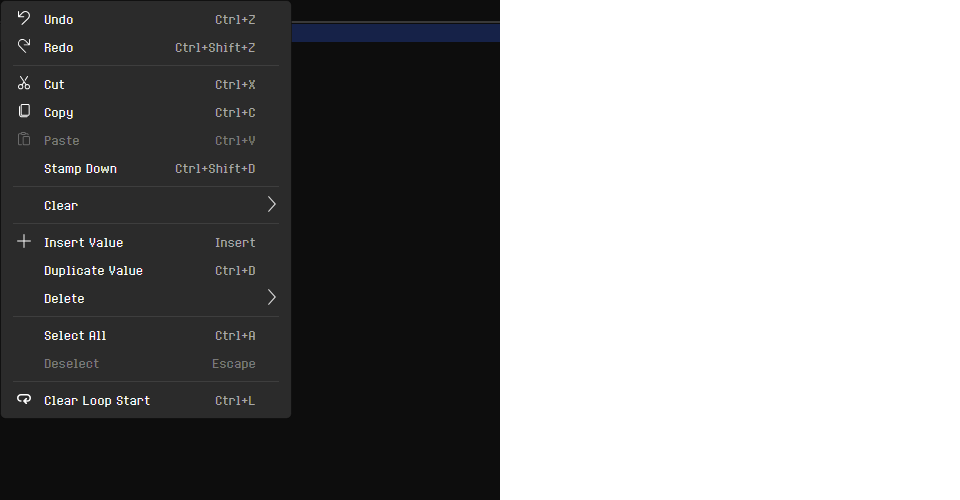
Right-clicking in the value grid:
| Item | Shortcut | Description |
|---|---|---|
| Undo | Ctrl+Z |
Undo last edit |
| Redo | Ctrl+Shift+Z |
Redo last undone edit |
| Cut | Ctrl+X |
Cut values to clipboard |
| Copy | Ctrl+C |
Copy values to clipboard |
| Paste | Ctrl+V |
Paste values |
| Stamp Down | Ctrl+Shift+D |
Copy value to row below; with a block selection, duplicate the whole range onto the values directly below |
| Clear | — | Sub-menu (see below) |
| Insert Value | Ins |
Add value after cursor |
| Duplicate Value | Ctrl+D |
Clone current value |
| Delete | — | Sub-menu (see below) |
| Select All | Ctrl+A |
Select all values |
| Deselect | Esc |
Dismiss block selection |
| Set Loop Start | Ctrl+L |
Set the loop start at the cursor; reads Clear Loop Start when it is already there |
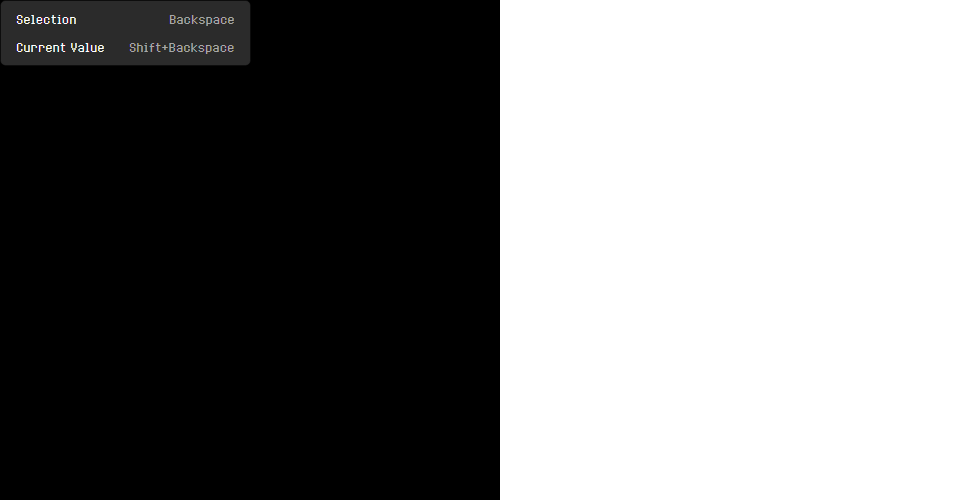
Clear Sub-menu
| Item | Shortcut | Description |
|---|---|---|
| Selection | Backspace |
Set selected values to zero |
| Current Value | Shift+Backspace |
Set current value to zero |
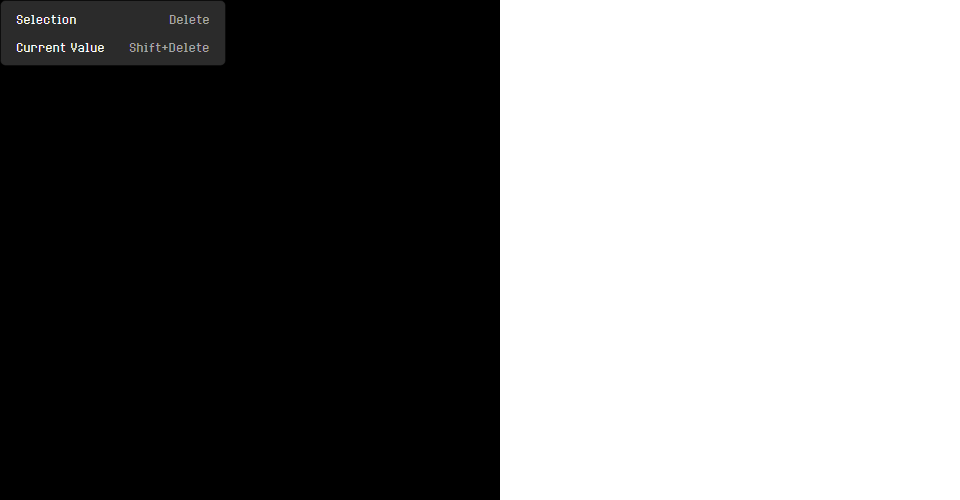
Delete Sub-menu
| Item | Shortcut | Description |
|---|---|---|
| Selection | Delete |
Remove selected value rows |
| Current Value | Shift+Delete |
Remove current value |
Arpeggio List
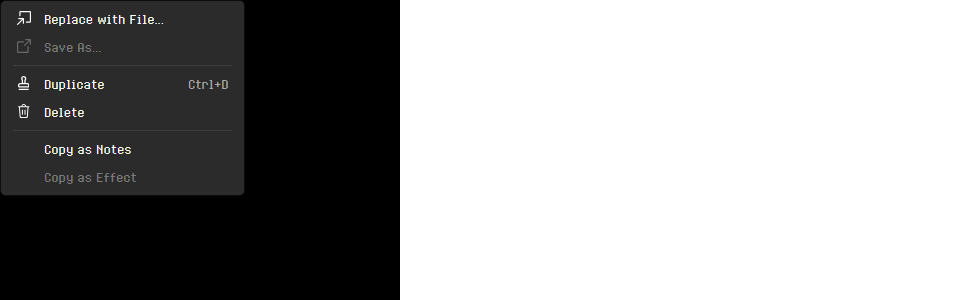
Right-clicking a table in the arpeggio list:
| Item | Description |
|---|---|
| Replace with File... | Load .rhv file into this slot (Ctrl+Shift+L) |
| Save As... | Save this table to .rhv file (Ctrl+Shift+J) |
| Duplicate | Clone table to end of list (Ctrl+D) |
| Delete | Remove this table (Delete) |
| Copy as Notes | Copy the notes this table plays, to paste into a pattern |
| Copy as Effect | Copy this table as an A or B effect |
Vibrato List
Right-clicking a table in the vibrato list:
| Item | Description |
|---|---|
| Replace with File... | Load .rhv file into this slot (Ctrl+Shift+L) |
| Save As... | Save this table to .rhv file (Ctrl+Shift+J) |
| Duplicate | Clone table to end of list (Ctrl+D) |
| Delete | Remove this table (Delete) |
Wavetable List
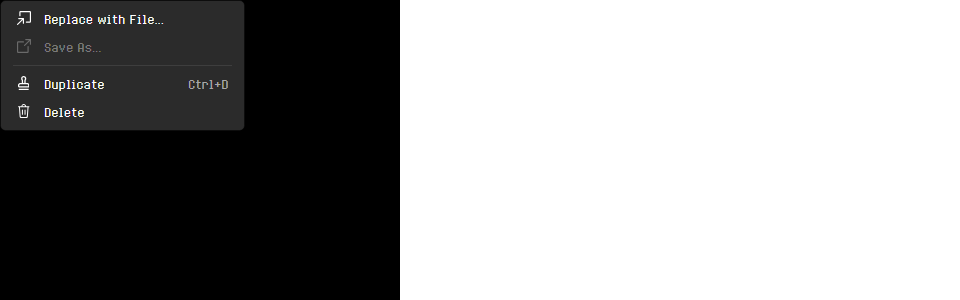
Right-clicking a wavetable in the wavetable list opens this menu:
| Item | Description |
|---|---|
| Replace with File... | Replace this wavetable with the one saved in a .rht file (Ctrl+Shift+L). It keeps its number, so the steps that play it play the loaded one |
| Save As... | Save this wavetable to a .rht file, named after it (Ctrl+Shift+J) |
| Duplicate | Add a copy of this wavetable at the end of the list (Ctrl+D) |
| Delete | Remove this wavetable from the song (Del) |
Playlist
Right-clicking a song in an open playlist opens this menu. The song you click is selected first; right-clicking one of several selected songs keeps them all selected, and the menu acts on all of them where the item takes several. See Working in the List.
| Item | Shortcut | Description |
|---|---|---|
| Play from Start | F5 |
Play the playlist from its first song, whatever is selected |
| Play Song | Enter |
Play the selected song without opening it |
| Stop | F8 |
Stop the song the list is playing |
| Previous Song | Ctrl+[ |
Move to the song before the selected one; it plays too if the playlist is already playing |
| Next Song | Ctrl+] |
Move to the song after the selected one; it plays too if the playlist is already playing |
| Open Song in the Editor | Ctrl+Enter |
Open the selected song for editing |
| Move Song Up | Alt+Up |
Move the selected songs one place earlier in the set |
| Move Song Down | Alt+Down |
Move the selected songs one place later in the set |
| Sort by Name | Ctrl+Alt+S |
Put the whole set in the order of its names |
| Add Songs... | Ctrl+Shift+A |
Add one or more song files |
| Add Current Song | Ctrl+Alt+A |
Add the song you have open in the editor |
| Remove Song | Del |
Take the selected songs out of the playlist |
Status Bar File
Right-clicking the file name shown in the status bar at the bottom of the window:
| Item | Description |
|---|---|
| Copy Path to Clipboard | Copy the song's full path, exactly as it is shown |
A song that has never been saved has no path, so the entry cannot be chosen until you save.